Aggressive strike rut hunting
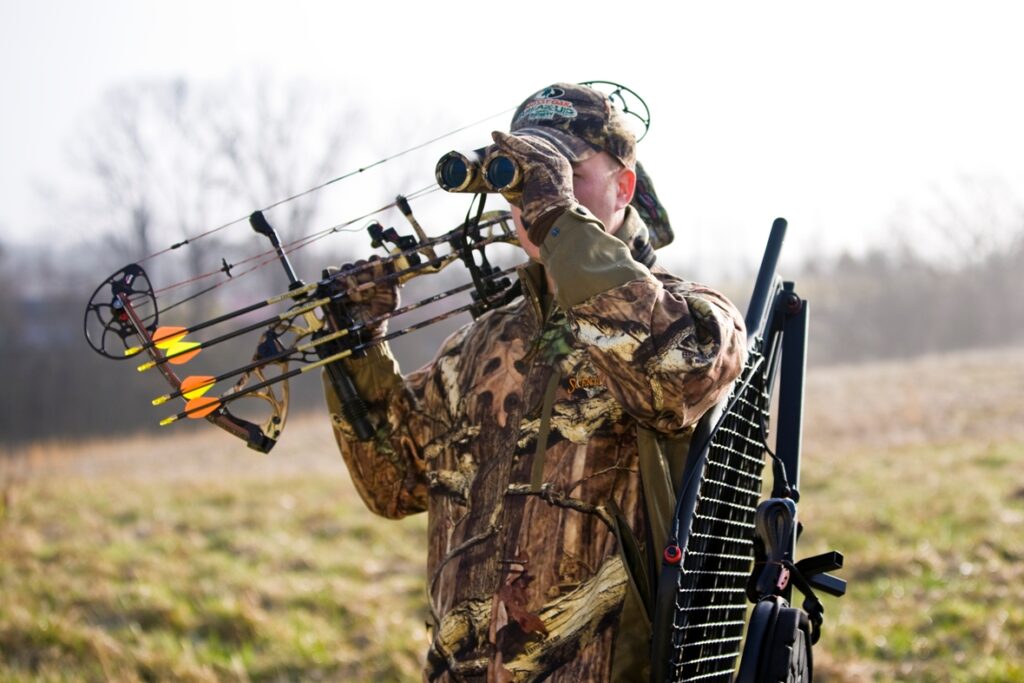
This aggressive strategy might just put you within range of a big mature whitetail By Bernie Barringer If you have hunted during the rut for very long, you have probably been in one of those situations where you are right in the middle of the rutting action. Bucks chasing does all around you, grunting, fighting, you know the drill. It is one of the things we hunters all live for; to be right smack in the thick of it when a hot doe is right around your stand and the bucks are going bonkers. You’ve probably been there at one time or another. I’ll bet you didn’t screw it up as bad as I did. The first time it happened to me I learned a very important lesson. Here’s my sad tale: I had been sitting in a tree in what I thought was a great funnel since daylight and it was nearing noon. I was getting hungry and drowsy so I decided to head back home to get something to eat, take a nap for 2-3 hours; then come back out for a couple hours in the evening. Suddenly, the crunching of dry leaves under the hooves of a deer signaled that something was bearing down on me. A big doe came by at a trot, head hanging, tongue lolling about. I knew what that meant. I grabbed my bow off the hanger. Within 60 seconds, there were four bucks chasing that doe all around me. Two of them were yearlings, and two were 2 1/2-year old 8-pointers. I watched with amusement for a few minutes as they dogged the doe all over and then I sat back down as they headed over the hill and out of sight. Within 15 minutes, my growling stomach got the best of me and I began to climb down. Since I was alone on private property, I left everything in the tree so I didn’t have to carry it out and then back in with me a couple hours later. About halfway down the tree, I heard the familiar hoof-beats again. But this time I was shocked to see a 160-class 10-pointer make a few circles through the area with his nose to the ground before disappearing over the hill in the direction the doe left. I clung to the climbing sticks with the most horrible sinking feeling in my gut you can imagine. I’d had a terrific buck 10 yards from my tree no less than three times and there was nothing I could do about it. Nothing of course, other than resolve to never to let that happen again. They say lessons learned the hard way are lessons learned well. I learned some painful lessons from that experience; lessons that I have used to create some strategies that you too can use to bag a big buck during the peak of the rut. You probably think I am going to say, “Stay in your treestand.” And in fact if you happen to find yourself in the middle of some chasing activity like I described, then staying in your treestand is good advice. But why wait to get lucky and hope to get in the middle of chasing action? Can you go to the chasing location and get a piece of the action? I say yes, and here’s how. Pinpoint Rutting Areas If you pay attention, you will find that these rutting areas become somewhat predictable. They are usually near bedding areas and occur often in more open timber or the edges of fields. I theorize that cruising bucks tend to travel downwind of known bedding areas to check for does that are coming into heat. If they get a sniff of something that gives them a tingle, they move into the bedding area and get the does on their feet. Any doe that seems close to breeding is going to be chased relentlessly from that point until the actual breeding occurs. Bucks tend to push these does toward more open areas where they can keep an eye on them and defend them from subordinate bucks. This makes them more visible than at any other time of the year. This window of opportunity usually lasts only a week to at most 10 days each year, but we all know how exciting hunting at this time can be. Get to know the bedding areas well before the rut starts. Keep a log of them and also look for observation points where these areas can be viewed from a distance. Use aerial photography such as Google Earth to identify good rutting areas. Go check them out ahead of time and make note of each of the areas that look good. Plan Your Strategy When the rut kicks into high gear, go park yourself in one of these observation areas and with some good glass, carefully pick it apart. Good binoculars are important, and if you can watch the areas from your vehicle, nothing beats a good spotting scope with a window mount. The key is to be ready for action when you see chasing. You want to be able to grab your stuff and go within seconds. Once you find the deer, you are going to grab a minimum of equipment. A treestand, your weapon, a haul rope, and a grunt call in your pocket are the only things you need. You will see the deer chasing and you must carefully watch their behavior and their exact routes through the area. The hot doe’s scent is going to linger for a few hours and you want to take advantage of her travel patterns so focus on her route. If she runs along a creek bank or fencerow, take note of it. Where does she circle and dodge. Pay attention to specific features that help you remember the key areas. Count fenceposts or note a fallen log. Things can look different from a distance, especially through binoculars so use at least two points
Hunting the Final Approach
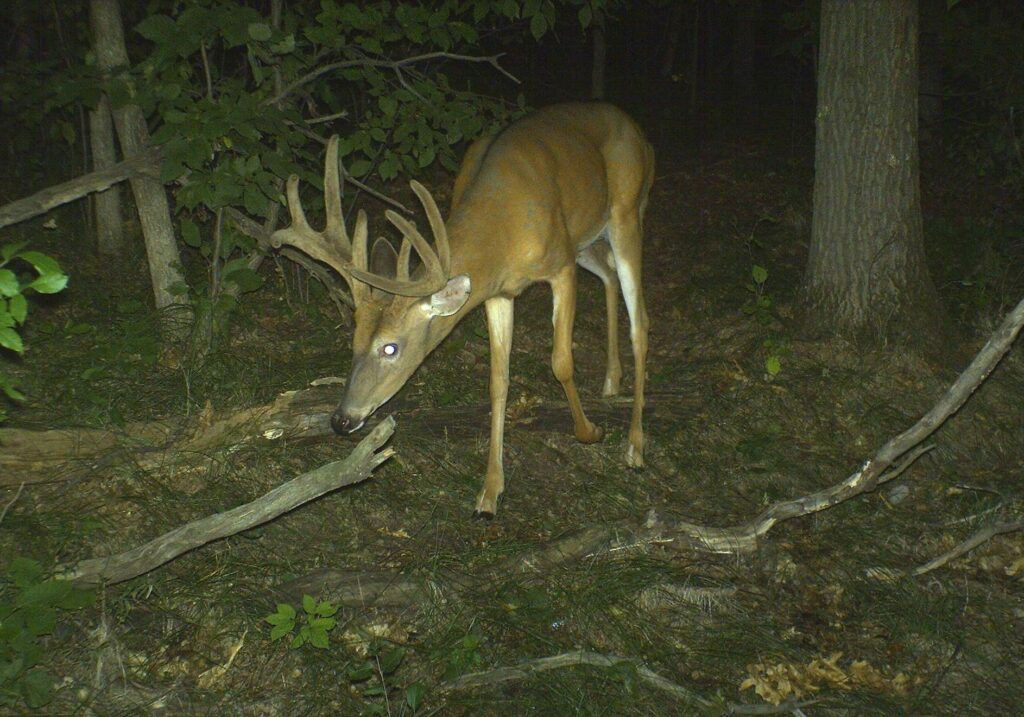
Don’t wait until the early season bucks hit the field in the evening, the best place to kill one is before they step into the open By Bernie Barringer The buck in my spotting scope was not a giant by any means. His thick, stubby 10-point frame would maybe go 130 tops. But for this part of north-central Minnesota where more than 80% of bucks are shot when they are yearlings, just seeing a 4-year-old buck is a rare occurrence indeed. What made this buck appealing was the predictability of his habits. I had seen him more than a dozen times in the same alfalfa field on late summer evenings. I felt I had a reasonable chance of shooting him in the first days of the season. I had to take a couple weeks off in early September to chase bears, and when I returned, it was September 15, the evening before Minnesota’s archery season opener. I headed out to the field with anticipation and parked in my normal spot, scanning the field with a window-mounted spotting scope. By the last minutes of daylight, a half-dozen does had worked their way well out into the middle of the field, but the buck was nowhere to be found. My heart sank with the deepening darkness. I waited until I couldn’t see through the scope and then decided to head for home. I drove the end of the dead-end road and turned around, and as I passed the field on my way back out and turned to go back on the blacktop, my headlights swept across the alfalfa one more time. But wait, now there was one more set of glowing eyes! I skidded to a stop and put my binoculars to my eyes; sure enough my buck in the headlights. He was standing in the corner of the field surveying the area before stepping out. I glanced down at the clock in my truck: 8:30. That’s when it hit me. He was right on schedule! I had been seeing him at about 8:30 since August when the sun was well above the trees at that time. He hadn’t changed his pattern, the shorter daylight hours had just caught up to him. I never did shoot that buck, but I learned a valuable lesson from him. Earlier sunsets combined with a more nervous demeanor due to the shedding of velvet makes the bucks a little tougher to kill. Once the velvet comes off, they often spend quite a bit of time hanging back in the cover, observing their surroundings before venturing out into the open. Shooting them right at the edge of the field may not be the best option. A better option may be setting up back in the trees a ways in order to get a shot as they make their final approach. I’ve learned that there are three ways to up your odds of killing an early season buck using these regular patterns to your advantage. I’ll list them in a good, better and best order. Good: Find the bedding area In order to waylay a buck between the bedding area and the feeding area, you must first figure out with a reasonable degree of certainty where the preferred bedding areas are located. Bucks will often bed in the same general area each late summer and early fall day unless some environmental change moves them. That may be rain, high winds or human pressure. Each of these will cause the bucks to seek out alternate bedding cover. But if you can find the most preferred sites, it becomes much easier to determine their travel lanes to the food sources. Primary evidence will be trails of course and rubs along these trails. I like to actually see the beds, the droppings and all the things associated with the bedding sites, and I am not afraid to bump the deer one time to do it. I find that the first hand knowledge gives me confidence in my set-up. I would suggest doing this at least 2-3 weeks before you are going to hunt. The closer to hunting it is the riskier it is. Deer are accustomed to getting bumped in the summer by berry pickers, woodcutters, ATVs, etc. In mid- to late-summer I may even place a trail camera there which I will come back and retrieve in about a week. Once you find the bedding area, it’s a simple matter to pick the best looking travel lane and set up on it. Stay just far enough from the bedding area that you can get in and out without tipping them off and make sure your wind is not going towards them. This technique allows you to have the best chance of seeing the deer in the daylight. But picking the exact right travel lane can be a bit of a longshot. Better: Set Up on the Staging Area Mature bucks become very good at letting smaller bucks and does run interference for them. They love to hang up 30-50 yards back in the timber and observe as the other deer move out into the field. Some people believe they are waiting for dark and that may be the case some times, but more often I believe they are just observing the behavior and body language of the deer already in the field. They like to use semi-open areas where they can see around them well, and out into the field. These areas are obvious once you know what to look for. The bucks spend their waiting time alternating between standing still while staring, while occasionally nibbling on branches and rubbing trees. As fall wears on, some of these areas will have a lot of scrapes, and in fact, some of the scrapes start to show up soon after the velvet is shed. Another clue that will help you determine where the bucks are entering the field is the sign left on the plants themselves. Does and immature deer tend
Bring bears to your baits quickly and keep them there
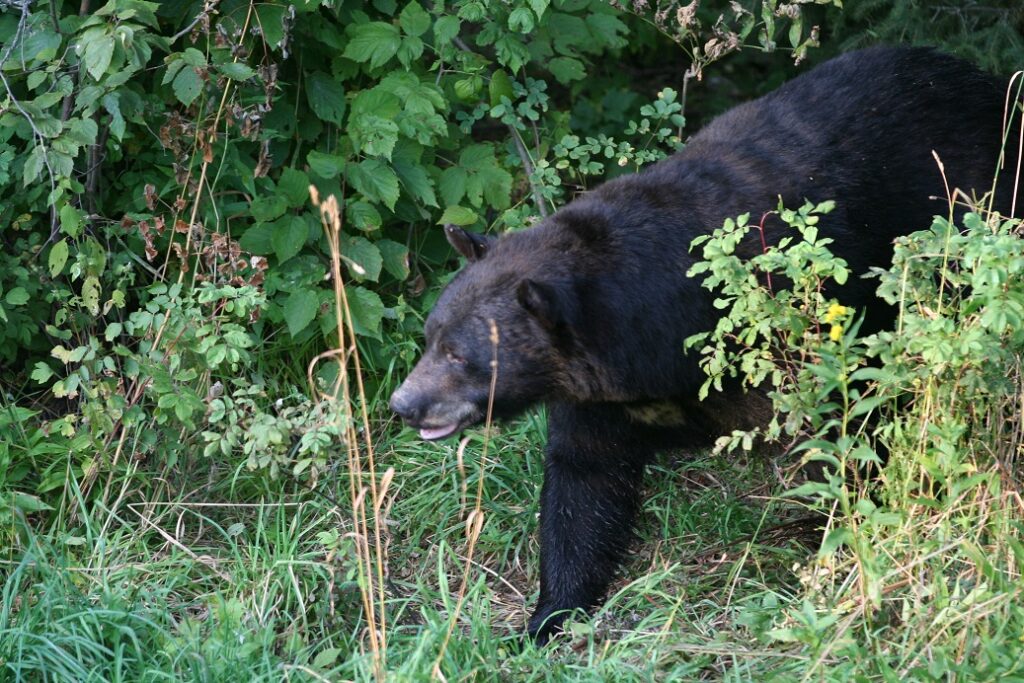
Getting bears to hit your baits is just the first step; keeping them there is another step. Heed this advice to increase your odds of success. By Bernie Barringer I’m convinced the most important factor in shooting a bear over bait for us DIY bear hunters is getting the bears associated with your bait quickly; then giving them a reason to keep coming back. This is especially true when you have a limited time to bait bears. If you are on a road trip, say you’ve drawn a tag in another state and you arrive to bear hunt, you’ve got to make things happen in a hurry before your timeline runs out. I’ve learned some things that help through years of baiting here in Minnesota where we’re allowed to start baiting only a couple weeks before opening day of the season. Around here, particularly on public land, there’s a mass rush to get bait into the woods on the opening day of baiting. If you’re gonna get the bears on your baits you better do it right away and you better do it right the first time. Or someone else is going to be skinning the bear you could have shot. A small handful of people choose to wait until the pressure is off when most other hunters have given up, but that’s risky as is illustrated by the fact that nearly 80% of bears harvested in Minnesota each year are harvested during the first week of the season. I do bear hunting seminars at several sports shows each year and one of the questions that comes up at nearly every one of them has to do with hunters who get a couple bears hitting the bait for a week to ten days, then lose them. Happens all the time; it used to happen to me a lot. Usually it’s blamed on natural foods such as acorns which tend to drop in great numbers right around the opening of bear season. But I believe it’s more than just natural foods. Let’s explore some aspects of my system that has significantly improved my odds of getting bears on my baits as opposed to the baits of other hunters, and kept the bears associated with my sites. Out of all the variables that influence how quickly bears find your baits you might be surprised to learn that I believe location is the most important; even more important than lures. Now don’t think for one second I am devaluing the role of quality lures, but bear with me for a moment. Bears travel in somewhat predictable patterns. They don’t often just wander aimlessly about the landscape. They tend to follow edges, such as shorelines, steep bluffs, tree-lines and even field borders. They also travel ridges, particularly mature males will go from point A to point B on the spine of a ridge. Look at it this way, if you’re a big old male bear who’s headed somewhere important, like where the food is found, are you going to push yourself through a thick swamp or get up on a hardwood ridge where the canopy allows you to move with relative ease? These ridges are great places to encounter big bears, especially if they have thick escape cover along at least one side that allows the bear to quickly duck out of sight. Add this to the fact that these ridges are most likely where you will find food such as acorns and beech nuts. Those thick swamps and beaver ponds are really important to the bears, they are great places to lounge around when they aren’t feeding, and the water offers them a way to cool off and take in the liquids necessary to digest the huge amounts of calories they are taking in during the late summer and fall. A good analogy that relates to this important location factor would be something familiar to any deer hunter who chooses a stand location for a rut hunt. Deer hunters know that bucks will be on their feet looking for does during the rut, so in order to increase our chances of encountering one up close, we choose deer hunting locations that funnel their movements down into pinch points, which increase our odds of being within range of these cruising bucks. Choosing a bear bait location for fast action is much the same. We are picking spots that increase the odds that a bear is going to come close by our bait site sooner rather than later. So if you haven’t added two plus two and gotten four yet, I’ll tell you straight up that ridges between swamps or beaver ponds are dynamite bait site locations. But there is another important component to this. Bears, especially mature males, prefer not to expose themselves to open areas during the daylight. You need place your actual bait in some thick cover that allows the bear to comfortably approach the site without crossing an open canopy or field for every long. My best bait sites on the sides of ridges between swamps (or a swamp and another obstruction), where the ground vegetation is fairly thick and at least as tall as the biggest bear’s back. Once you’ve found a couple ideal bait sites, you’re going to add the bait and lure it up good with some great scents that the bear cannot resist. Let’s talk about lures first. I have used several different scent strategies over the years to draw bears to the baits. I’ve thrown Jell-O packets into the trees, I’ve done honey burns and bacon burns and other old favorites of bear hunters. But a few years ago I was introduced to a product called Gold Rush, which is an amazing, potent scent that is super concentrated and can be added to used fryer oil. That’s right, it’s a concentrate; you mix about an ounce or two of it with five gallons of oil and it smells fantastic, plus it carries well. All of